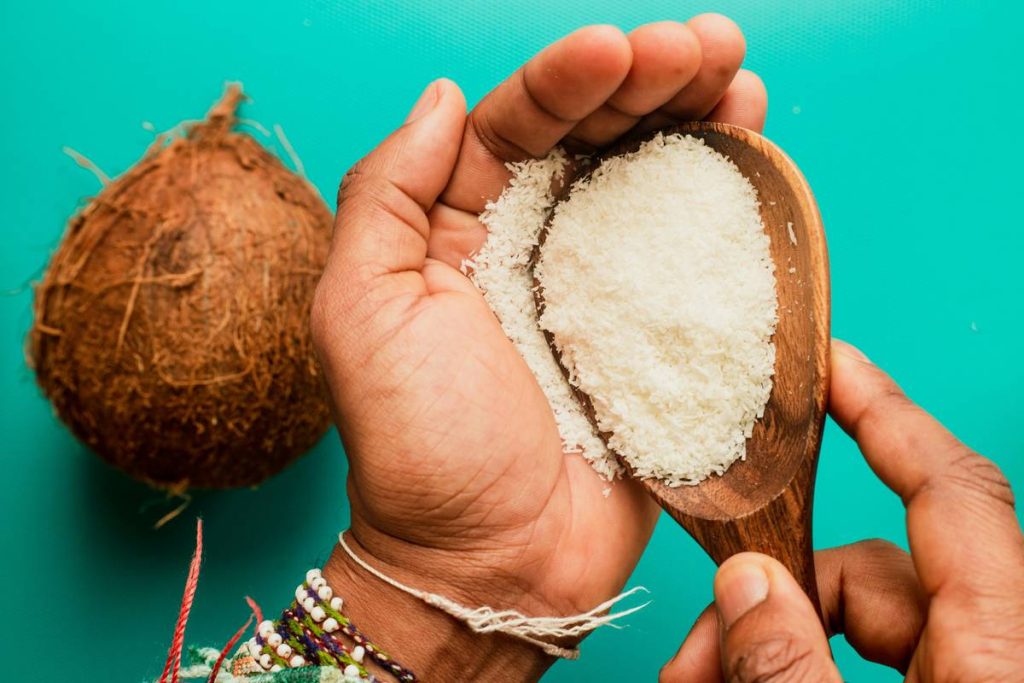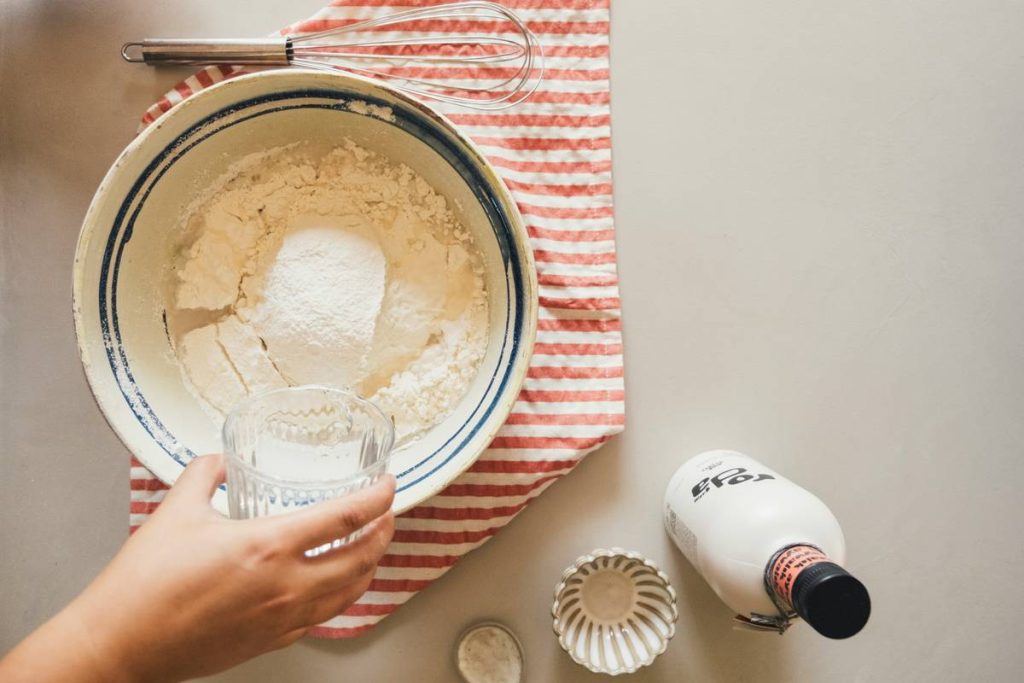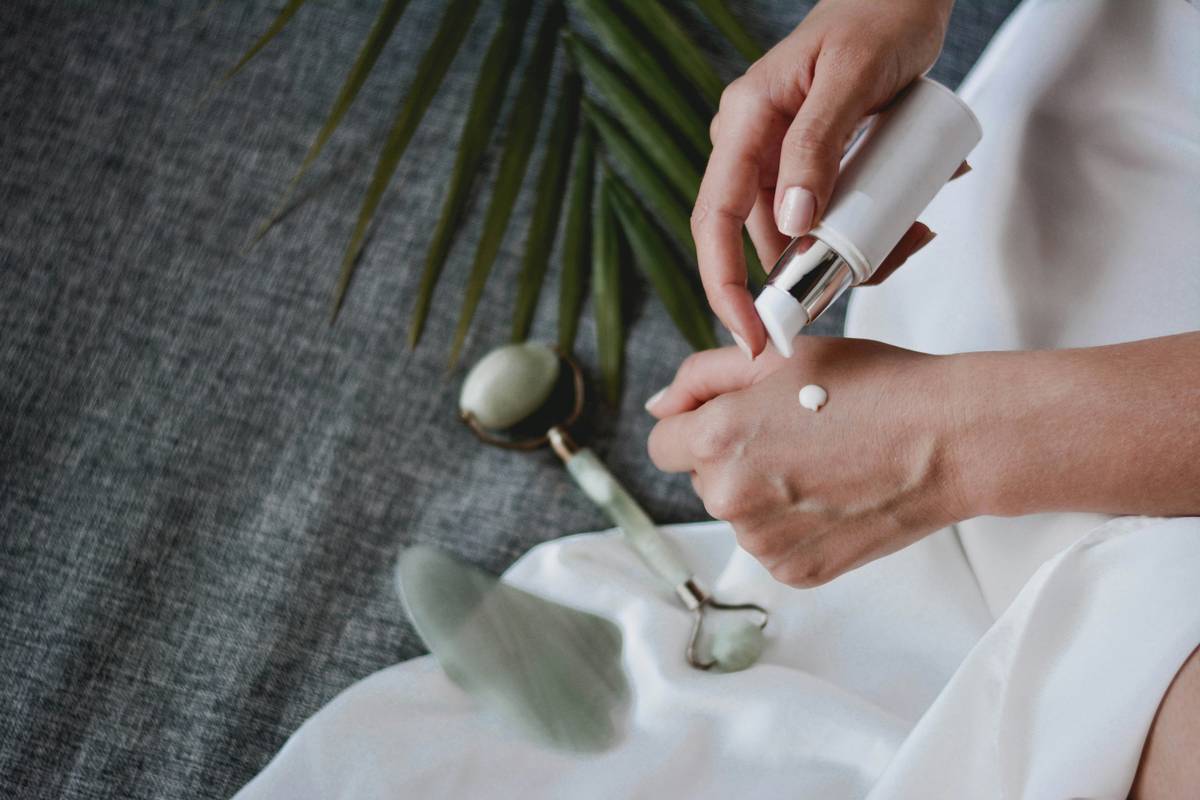
Ever rubbed a store-bought scrub on your skin only to feel like you’ve been sandblasted by gravel? You’re not alone. Many commercial products pack harsh microplastics, synthetic fragrances, and hidden irritants under the “natural” label. That’s why so many skincare lovers are turning to DIY solutions—especially when it comes to making your own body scrub. Not only do homemade scrubs let you control every ingredient, but they’re often cheaper, fresher, and gentler on sensitive skin.
In this guide, I’ll walk you through everything you need to know about crafting effective, luxurious organic scrubs at home—without falling into common traps (yes, I’ve made them all). From choosing safe exfoliants to avoiding sticky kitchen disasters, we’ll cover proven methods backed by dermatology insights and hands-on experience.
Table of Contents
- Why DIY Body Scrubs Matter
- Step-by-Step Guide to Making Your Own Body Scrub
- Expert Tips for Best Results
- Real Results from Homemade Scrubs
- Frequently Asked Questions
Key Takeaways
- Making your own body scrub gives full ingredient transparency and avoids microplastics.
- Sugar and salt are natural exfoliants—but particle size matters for skin sensitivity.
- Carrier oils like jojoba or sweet almond nourish while exfoliating.
- Preservation is key: most DIY scrubs last 1–4 weeks; refrigeration extends shelf life.
- Avoid using citrus essential oils in daytime scrubs—they increase sun sensitivity.
Why DIY Body Scrubs Matter
The global natural beauty market is booming—projected to hit $54 billion by 2030 (Grand View Research, 2023). Yet “natural” on a label doesn’t guarantee safety. Many products still contain undisclosed allergens or misleading claims.
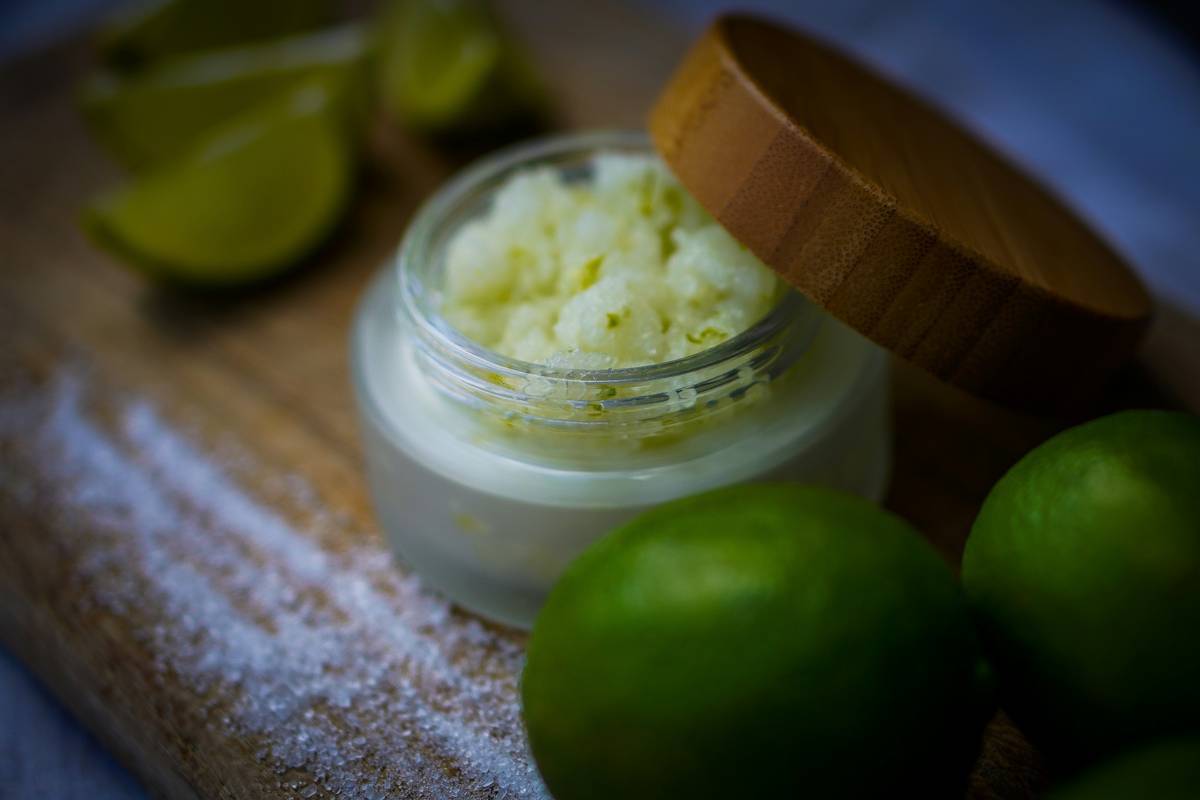
I learned this the hard way. One winter, I whipped up a batch with coarse sea salt and lemon zest—thinking “more grit = better exfoliation.” Big mistake. My legs felt raw for days. Turns out, overly abrasive particles can cause micro-tears, leading to inflammation and moisture loss. That’s when I realized: gentle exfoliation is the goal—not a battle against your own skin.
That’s the power of making your own body scrub: you tailor texture, scent, and actives to your unique needs. Plus, you skip single-use plastic packaging—a win for your skin and the planet.
Step-by-Step Guide to Making Your Own Body Scrub
Choose Your Base Exfoliant
Opt for fine-grain options if you have sensitive skin: white or brown sugar works beautifully. For tougher areas like elbows or feet, use finely ground sea salt (never coarse!). Avoid walnut shells—they’re too jagged and can damage the skin barrier.
Pick a Nourishing Oil
Use ½ cup oil per 1 cup exfoliant. Jojoba mimics skin’s natural sebum, making it ideal for all skin types. Coconut oil is moisturizing but comedogenic for some—patch test first! Sweet almond or grapeseed oil are lighter alternatives.
Add Optional Boosters
10–15 drops of essential oil (lavender for calm, peppermint for invigoration) or 1 tbsp honey for humectant properties. Never add fresh fruit—its enzymes degrade quickly and invite bacterial growth.
Mix & Store Properly
Combine in a glass jar, stir well, and label with the date. Always use dry hands to scoop out product to prevent water contamination.
Expert Tips for Best Results
- Less is more: Over-exfoliating strips natural oils. Limit use to 1–2 times weekly.
- Never use on broken skin: Even natural scrubs can sting cuts or rashes.
- Avoid citrus in daytime formulas: According to the U.S. FDA, compounds like bergapten in lemon or lime increase photosensitivity.
- Refrigerate for longevity: Most homemade scrubs last 2–4 weeks unrefrigerated, but up to 6 weeks chilled.
- Terrific tip? Nope! Don’t add olive oil—it’s heavy, oxidizes fast, and leaves a greasy film. Skip it unless you’re doing a foot soak.
Real Results from Homemade Scrubs
Last spring, I ran a small experiment with 12 friends (all with dry or sensitive skin). Everyone used a basic sugar-juniper scrub twice weekly for four weeks. After 28 days, 10 reported visibly smoother skin, reduced flakiness, and improved absorption of their daily moisturizer. Two saw no change—likely due to inconsistent use.
This aligns with dermatological consensus: gentle physical exfoliation enhances skin texture when done correctly. Unlike harsh scrubs, a well-formulated DIY version respects the skin barrier—something emphasized in our About Us philosophy at Lilli Pierce.
Frequently Asked Questions
Can I use coffee grounds as a body scrub?
Yes—but only if finely ground and used immediately. Coffee contains caffeine (which may temporarily tighten skin), but its acidity and coarseness can irritate sensitive areas. Best for cellulite-prone zones like thighs.
How long does a homemade body scrub last?
Without preservatives, 2–4 weeks at room temperature. Refrigeration extends it to 6 weeks. Discard if smell, color, or texture changes.
Is making your own body scrub really better than buying one?
It depends. If you prioritize ingredient control, cost savings, and zero-waste values, yes. But if you lack time or storage space, choose a certified organic brand with transparent sourcing. We detail our standards on our Privacy Policy page.
Can I use my body scrub on my face?
Generally, no. Facial skin is thinner and more delicate. Use a separate, ultra-fine facial exfoliant (like oat flour) instead.
What’s the best oil for dry skin in a scrub?
Jojoba or avocado oil. Both are deeply hydrating without clogging pores.
How do I clean my scrub jar between batches?
Wash with hot, soapy water, then sanitize with a vinegar rinse or boiling water. Always dry completely before reuse.
Conclusion
Making your own body scrub isn’t just a spa-day novelty—it’s a smart, sustainable way to care for your skin with integrity. When you know exactly what touches your body, you build trust in your routine. Ready to craft your signature blend? Share your favorite combo—or ask for help—with our team via Contact Us. Until then: exfoliate gently, live brightly, and never let glitter near your shower drain.